Courses
Creating a course
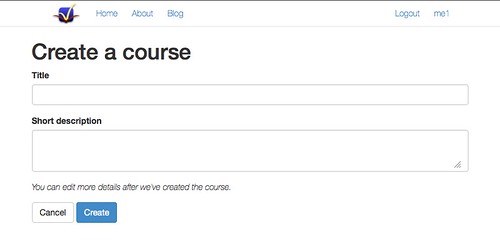
To create a course, click Create a Course on the front page. The form it brings up is very simple to get you started quickly, but you’ll be able to edit many more options after you’ve initially created it.
Course Membership
Although courses are collaborative, not everyone is the same. If you’re the teacher, you’d probably like to have a bit more control over your course than your students do.
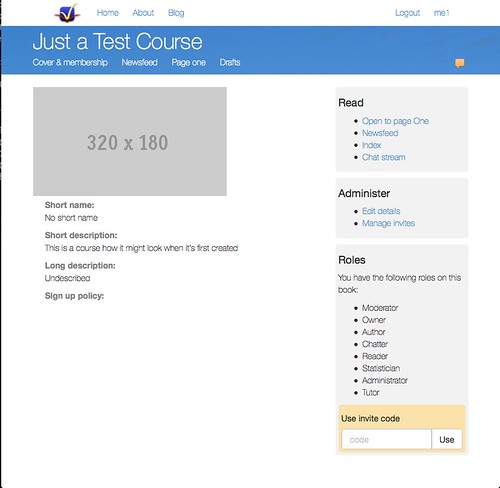
On the right hand side of this screenshot, you’ll see the user has several roles on the course. The important ones are these:
- Owner
- Given to the user who created the course
- Administrator
- Can edit the course settings and invite people to the course
- Moderator
- Can mark content as protected, and can edit protected content
- Author
- Can add content to the course, and edit unprotected content
- Reader
- Can read content in the course. (Note that if the course signup policy is open, you don’t need this role to read content)
- Chatter
- Can vote in polls, comment on posts, and chat in the interaction stream. (Note that if the course chat policy is open, you don’t need this role to vote and chat)
- Statistician
- Not used yet. Will let users view content analytics
- Tutor
- (Unused)
Settings
- Cover image
- A logo for your course. Typically 320px by 180px. Future versions will support more theming.
- List publicly
- Tick this box if you want your course listed on the front page. Alternatively, leave it unticked if you want only your students to be able to find your course (because you’ll give them the link). I find it can be useful to keep a course hidden, and allow anonymous chatting and voting. This means that your students don’t even need to log in to participate.
- Course signup policy
- (Not exposed on the form yet)
- Course chat policy
- (Not exposed on the form yet)